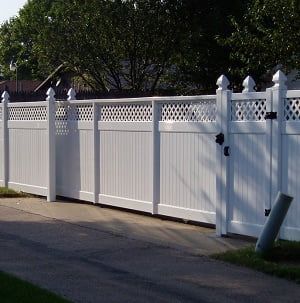
We’ve talked before about common mistakes people make when installing their own vinyl fences. Many people underestimate fencing projects, and this can lead to big, costly mistakes. In this post, we’ll discuss a few more common mistakes homeowners make when installing their own vinyl fencing, as well as how to prevent making them yourself.
Mistake 1: Not Digging Post Holes Deep Enough
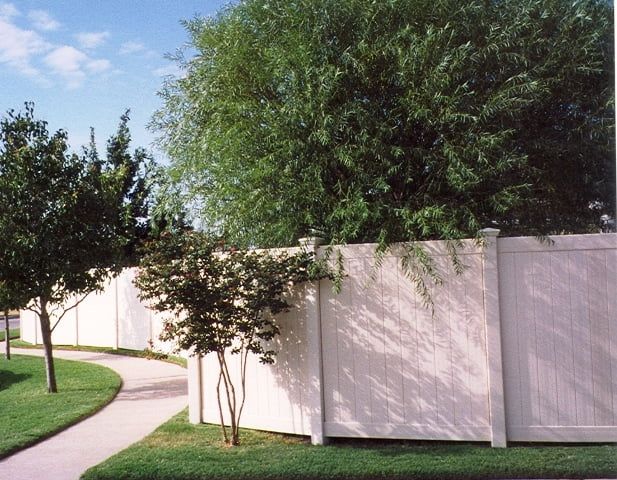
We’ve touched on this topic before, but this problem is so widespread that it bears repeating. Even though vinyl fencing is stronger and more durable than a wooden fence, it still needs to be set deep in the ground to avoid leaning later on. This is because of the type of soil we have here in Texas. Some areas, even within the DFW metro, have more ground movement than others. Dry weather conditions can also affect the amount of movement in the soil. At Future Outdoors we install our fences to minimize the effects of this natural occurrence, but many DIY fence installers don’t.
Most fencing experts recommend setting fence posts in concrete at least two feet into the ground. Our vinyl fence installation experts at Future Outdoors always set vinyl and wood fence posts 3 feet into the ground for our 6-foot and taller fences for extra stability and strength. The mistake most homeowners make, though, is thinking that a 3-foot-deep hole equates to setting a post 3 feet deep.
The best way to ensure your holes are deep enough is to rent an auger with a 10″ auger bit and dig to the 3-foot mark. You will need to run a string line for the top of the post and the horizontal post-placement. This ensures your fence is straight and consistent at the top and all your posts are lined up in a straight line. Be sure to use a level on each post before the concrete starts setting to be sure they are straight vertically. This will leave you with a professional-looking fence.
Mistake 2: Not Setting Fence Panels Square
Most properties have square corners. If you’re like most homeowners, you want your fence to follow your property line as close as possible. That means you’ll need to set your fence panels square to each other – a task that is easier said than done.
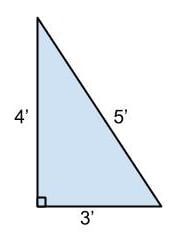
There are many ways to make sure your fence posts and panels are laid out at 90-degree angles, but the easiest method only requires two tape measures and some simple math. This method is often called the 3-4-5 triangle method.
In short, the 3-4-5 method states that for any triangle with sides that measure 3 feet, 4 feet, and 5 feet, the angle between the two shorter sides will always be 90 degrees. The same rule holds for multiples of 3, 4, and 5 – so you can create a 6-8-10 triangle or a 9-12-15 triangle and know the angle is perfectly square.
To use the 3-4-5 method in your fencing project, layout markings or guide strings for one side of your fence. Then, starting at the corner, measure three feet back down the guideline and make a mark. Next, use two measuring tapes or measuring sticks to measure 4 feet from your corner and 5 feet from your 3-foot mark. The point where they intersect is where your fence should go.
Confused? Take a look at this simple video to see the 3-4-5 rule in action.
Mistake 3: Not Accounting for Sloped or Graded Ground
Even a minor slope or grade in your property can create huge problems for a fence installation. Sloped ground requires special techniques and planning to make sure your fence looks good and functions properly.
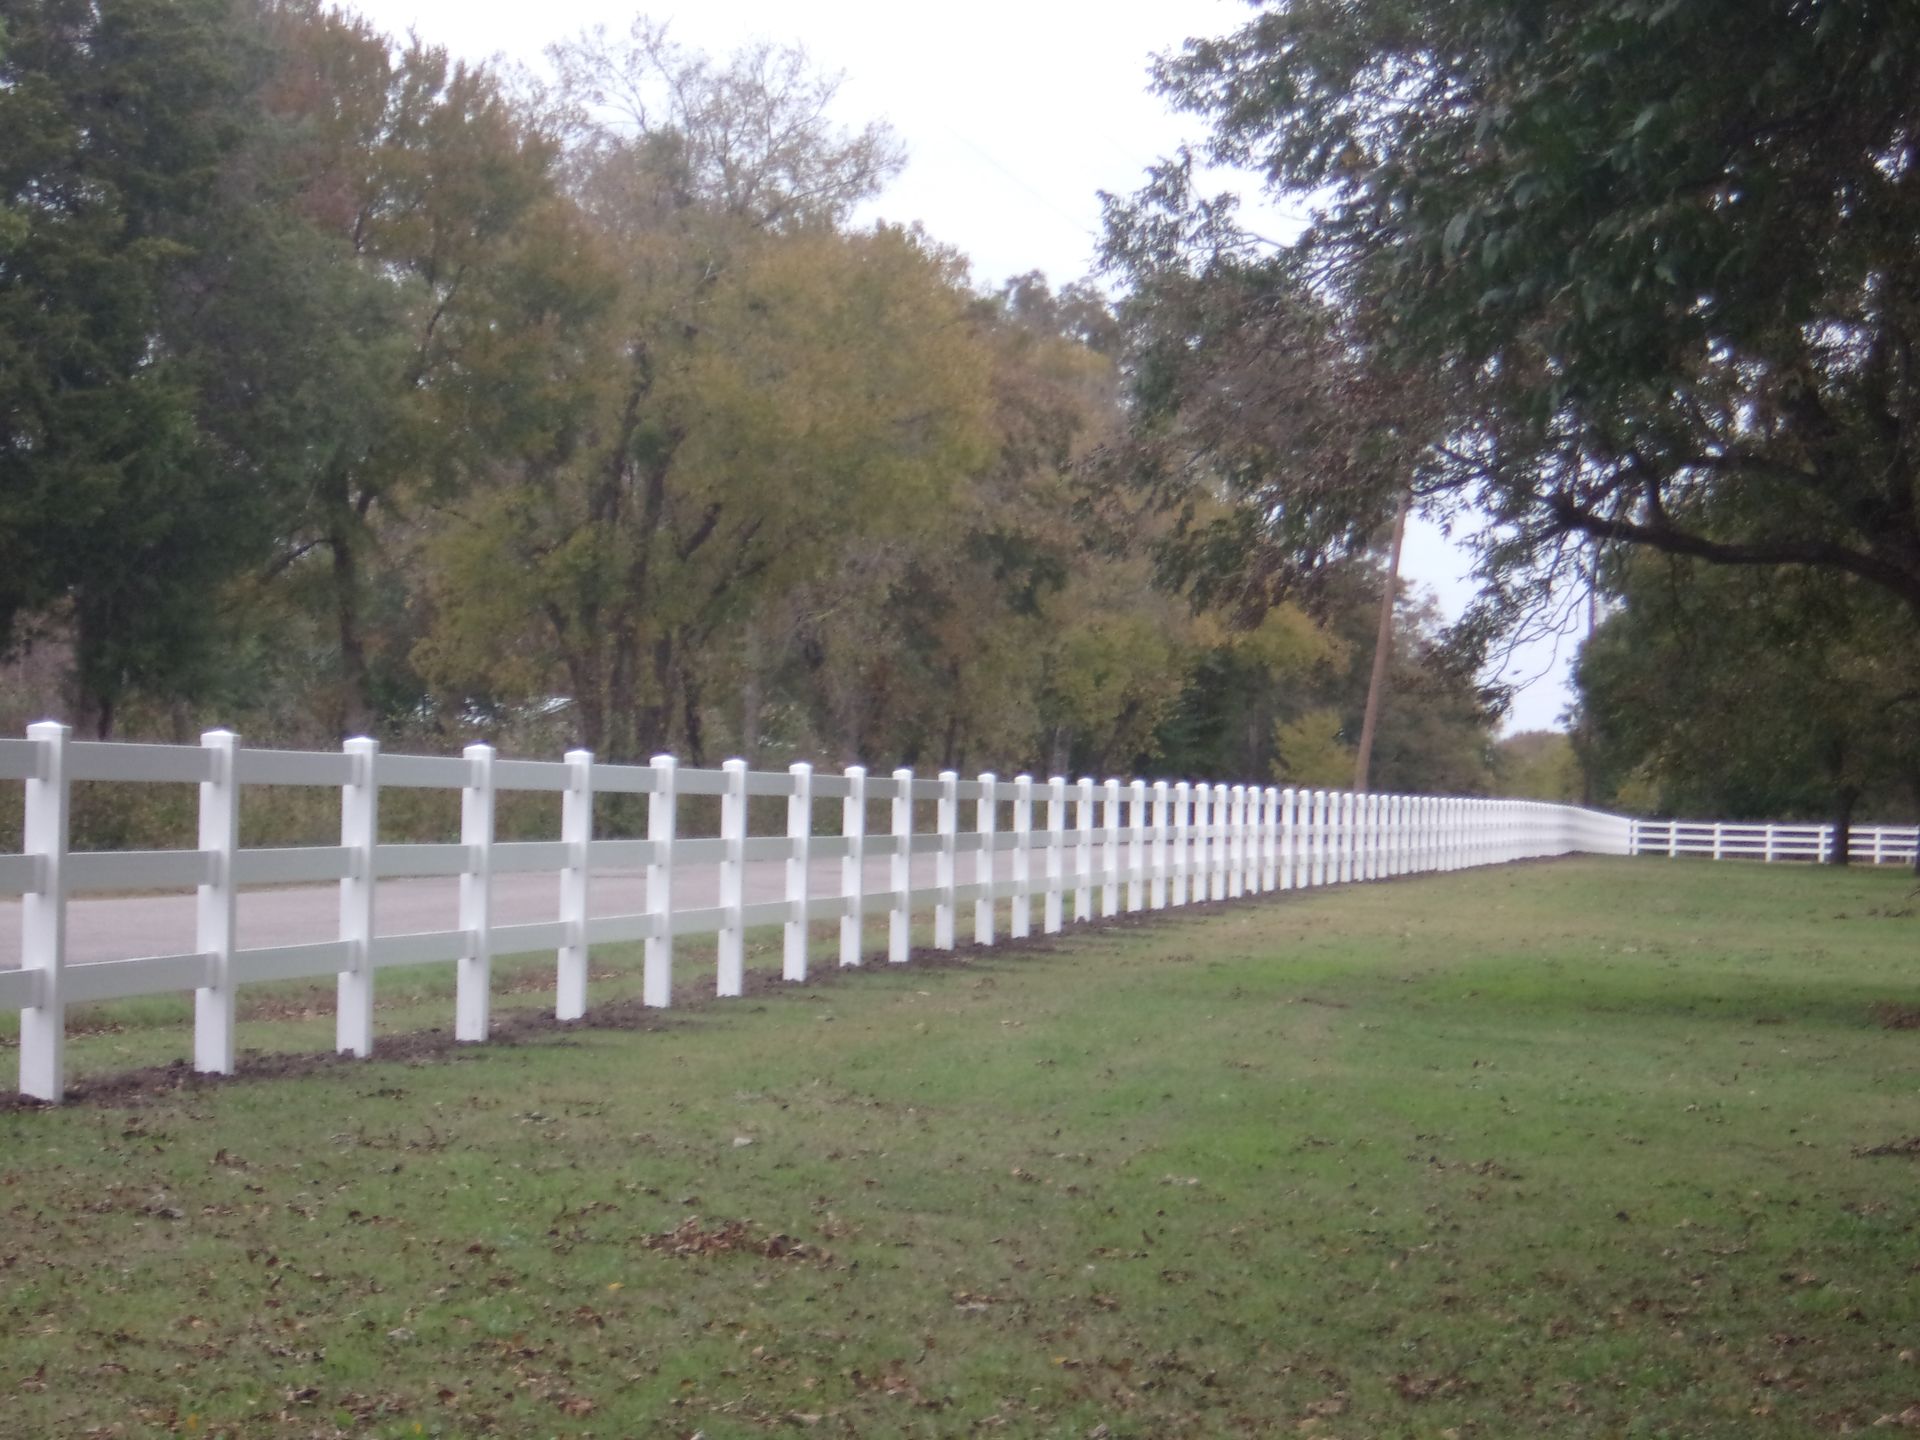
There are two popular methods for dealing with sloped ground during a vinyl fence installation: the step method and the racked method. At Future Outdoors we also offer a third solution: custom-built panels that follow the slope of your property.
A stepped fence
This a popular choice for many homeowners, especially those using complete fence panels to install their fence. With this method, the fence ends up looking like a set of steps – each panel sticks out straight from the post, leaving a gap underneath that must be filled in with another material. Depending on your preference, you can fill the gaps below the finished fence with brick, railroad ties, planters, or even cement walls.
One unfortunate truth about stepping a fence is that it won’t work with most prebuilt fences, since they come with the connecting holes already routed into the posts and panels. Unless you want unsightly holes in your fence – and have the tools and expertise needed to reroute your fence – stepping it isn’t an option.
Racked fencing
This a more complicated solution, but it prevents your fence from having gaps beneath each panel. Building a racked vinyl fence requires each panel to be custom-manufactured for your yard, so this isn’t a good method if you don’t have some extra funds for custom pieces. A racked vinyl fence is most common with a picket-style fence where the upright pickets are only attached to one side.
At Future Outdoors, we also offer a third solution for sloped ground. Since we are a vinyl fabricator, we can use custom fabrication to create personalized fences designed specifically for the slope of your property. These fences aren’t racked – they’re actually built to the slope of your ground, making them a perfect fit for your home and yard.
Mistake 4: Not Installing Gates Properly
Mistake 5: Trying to Do It All Yourself
One of the biggest mistakes DIYers make when installing a vinyl fence is thinking they can do it all alone. A fence installation is a job best tackled by two or more people, especially when it comes to the job of hanging panels and gates from fence posts. Even though the vinyl fence is lighter and easier to handle than wood, it’s still not a task you should attempt alone.
If you’re looking for help installing your vinyl fence, or if you want to avoid all this backbreaking work entirely, call us today at Future Outdoors located in Dallas, Texas. Our expert vinyl fence contractors are standing by and waiting to talk to you about installing a vinyl fence on your property. Call (972) 576-1600 today to learn about all of our vinyl fencing products and options, or follow our Facebook or Twitter pages to get more advice and tips.